Vinyl records provide a warm, rich sound that digital formats can’t quite replicate. But over time, dust, dirt, and debris settling into the record grooves can cause pops, clicks, and crackling that disrupt the listening experience. That’s why learning how to properly clean vinyl records is so important for music lovers who collect and play these classic audio formats.
In this comprehensive guide, we’ll provide expert techniques to deep clean vinyl records and keep your collection in pristine condition for optimized audio quality. We’ll cover everything from recommended supplies to wet cleaning methods, dry cleaning techniques, and proper record storage. Follow these best practices to get the most life and enjoyment out of your cherished vinyl collection.
Why Keeping Your Records Clean is Crucial
Keeping vinyl clean is about more than just appearance. Here are some key reasons why you need to clean records regularly:
- Improves sound quality significantly by removing pops, clicks, and surface noise
- Prevents groove damage, slowing record wear over many plays
- Maintains value of rare, valuable records in mint condition
- Removes harmful dust and debris that can erode vinyl and stylus
- Refreshes records stored for long periods to sound like new
- Protects investment in record collection by extending the lifespan
Dust Wrecks Sound Quality
Dust and grit settling into the record grooves is the enemy of good vinyl sound. As the stylus tracks through debris, it picks up all the pops and crackles that waver the music’s fidelity. A deep cleaning pulls all that gunk out of the grooves.
Groove Damage Causes Permanent Wear
If dust and dirt aren’t removed, they grind down the vinyl grooves little by little with each play. This erodes the original audio quality and channels permanent surface noise into your records. Stop groove damage before it happens by keeping vinyl meticulously clean.
Rare Records Require Care
For vinyl collectors with old, rare, or valuable records, keeping them in flawless condition maintains their value. Vintage records in immaculate shape will fetch much higher prices than worn, damaged copies.
Supplies Needed to Clean Vinyl Records
Cleaning vinyl records doesn’t require much equipment. Here are the key supplies you’ll need:
- Record cleaning brush. Use a soft carbon fiber or anti-static brush designed specifically for vinyl. Avoid hard-bristled brushes that could scar records.
- Distilled water. Tap water contains minerals and contaminants that can leave residue. Distilled water is pure.
- Isopropyl alcohol (optional). Adding a small amount of isopropyl alcohol helps cut through oil and residue. Use sparingly.
- Record cleaning solution. Specialty vinyl cleaning solutions help dissolve debris stuck in grooves.
- Soft cleaning cloths. Microfiber cloths are ideal for gently drying records after a wet wash.
- Record sleeves. Quality anti-static inner and outer sleeves protect cleaned vinyl.
Choose a Record Brush Suited for Vinyl
When shopping for a record cleaning brush, steer clear of hard-bristled options. Stiff bristles can tug debris across the vinyl grooves, causing scuffs and scratches. Look for soft carbon fiber or anti-static brushes made specifically for cleaning records.
Isopropyl Alcohol Helps Cut Grease
Adding a few drops of 99% isopropyl alcohol to the cleaning solution can help cut through oily grime like fingerprint smudges. But overuse can dry out vinyl. Use sparingly and rinse thoroughly after cleaning.
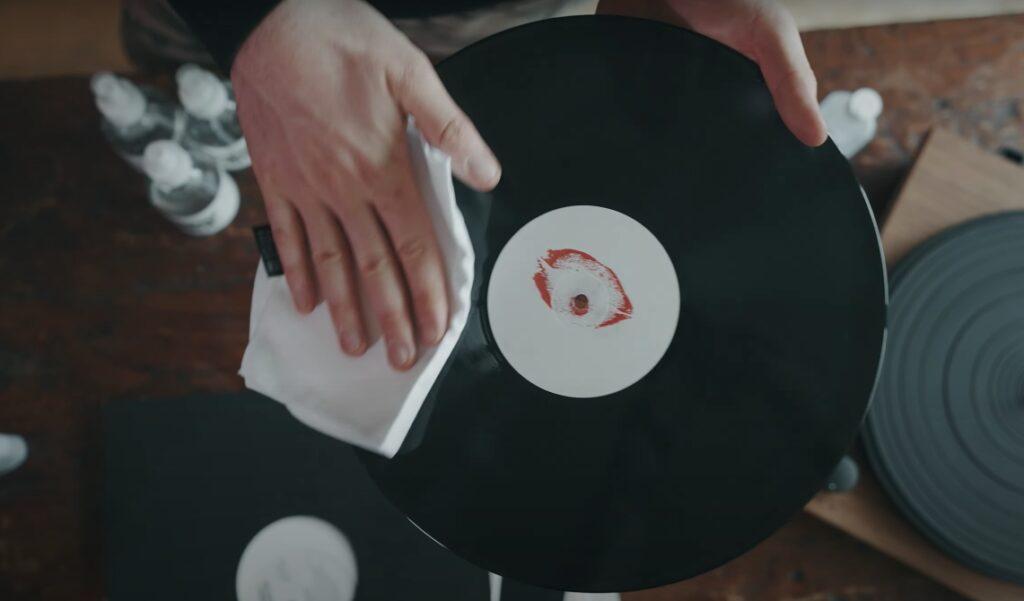
Microfiber Cloths Prevent Surface Scratches
Avoid using paper towels or harsh rags to dry records. Soft microfiber cloths gently absorb moisture without the risk of scratching the vinyl surface. Make sure no cloth lint gets left behind.
Quality Record Sleeves Protect Clean Vinyl
Once records are cleaned, store them in a new anti-static inner sleeve, then a fresh outer sleeve or jacket. Quality sleeves prevent dust from re-settling into the grooves.
Wet Cleaning Methods for Vinyl Records
For deep cleaning of heavily soiled records, a wet wash is required. Here is an effective wet-cleaning technique:
- Fill a sink or large tub with distilled water and a small amount of record cleaning solution. The solution helps break down built-up grime.
- Immerse the record vertically in the water so both sides are submerged. Let it soak for 1-2 minutes. This loosens debris stuck in the grooves before brushing.
- Remove the record and place it on a clean, dry surface. Holding the edge, gently scrub in a circular motion with a soft record brush to dislodge clinging dirt and dust.
- Rinse off all soap residue by running distilled water over both vinyl sides. Make sure no cleaning solution remains.
- Allow the record to completely air dry before returning it to the sleeve and playing. Trapped moisture can damage vinyl and covers.
Don’t Skimp on Soaking Time
When soaking dirty records before brushing, resist the urge to short soaking time. Letting vinyl soak for 1-2 minutes allows all that caked-on gunk to fully loosen up so it can be brushed away more quickly.
Dry Immediately After Rinsing
It’s crucial to dry records thoroughly after washing and rinsing them. Trapped moisture between the vinyl and sleeve can cause warping or ring wear over time. Stand cleaned records upright and give both sides a chance to completely air dry before playing or sleeving.
Change Wash Water Frequently
As you wash multiple records, all that dirt and debris collects in the wash water. Change it regularly to prevent records from being cleaned in filthy water. Dumping and refreshing the wash water keeps the vinyl cleaner in the process.
Dry Cleaning Techniques
For light vinyl cleaning and maintenance, dry methods are all you need:
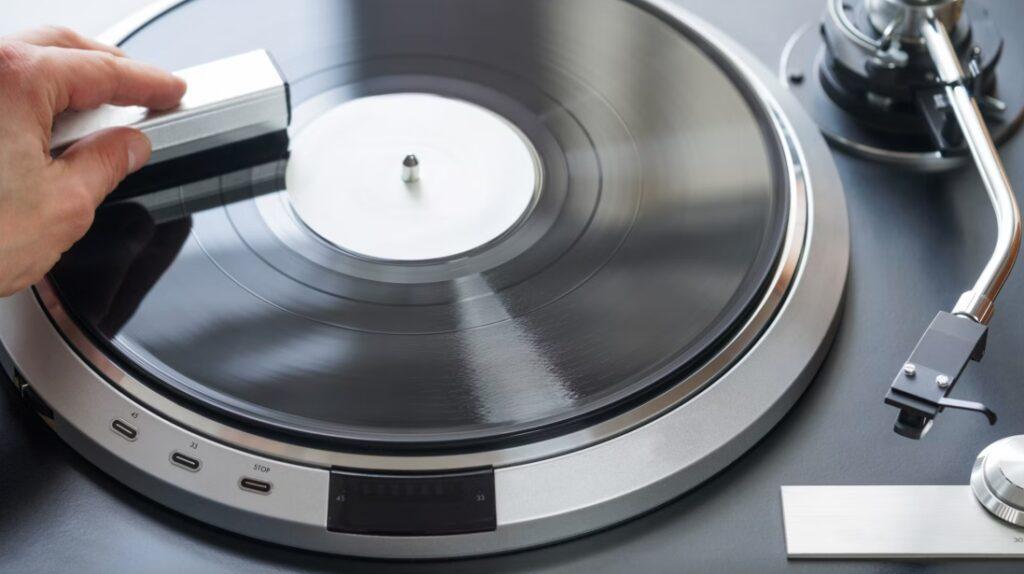
- Use a carbon fiber record brush before and after each play to remove dust and debris. Brush in a clockwise direction with gentle pressure.
- Try specialized record cleaning cloths to wipe away dust and absorb oils between full wet washes.
- Clean the stylus on your turntable before and after playing each album. A dirty stylus just grinds more grit into record grooves.
Quick Brushing Before and After Each Play
Make a quick record brushing a habit before and after each album you play. A few rounds with a carbon fiber brush before dropping the needle removes new dust that may have settled since its last play. Brushing afterward collects any new grit before returning the record to its sleeve.
Specialty Cloths Lift Embedded Dust
When carbon fiber brushing fails to lift out really embedded dust locked into grooves, reach for a record cleaning cloth. The textured surface helps lift out the sticky debris the brush bristles miss.
Never Play a Dirty Stylus
As the stylus rides along each record’s grooves, it inevitably picks up dust and grit that can grind into the next record played. Always brush or wipe the stylus clean before playback to prevent transferring dirt.
Storing Vinyl Records Properly
Once your records are freshly cleaned, proper storage helps keep them that way:
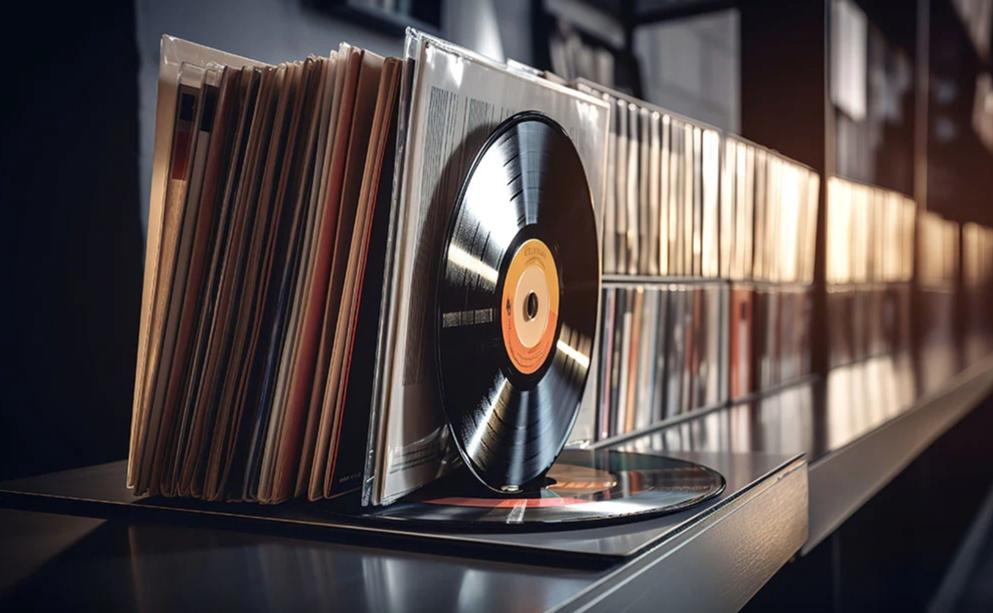
- Always store vinyl records vertically—-never stack them horizontally. Vertical storage prevents warping.
- Use quality anti-static inner sleeves to protect record surfaces from dust and moisture.
- Store records in clean outer sleeves or jackets away from heat, sunlight, and humidity.
- Avoid overcrowding records tightly on the shelf. Tight squeezing can warp records over time.
Vertical Storage Prevents Warping
Stacked horizontally with weight on them; records can slowly warp and become unplayable. Storing them vertically prevents gradual warping and keeps records flat.
Anti-Static Inner Sleeves Prevent Dust Buildup
Regular paper inner sleeves allow static charges that attract dust back into the grooves. Anti-static inner sleeves prevent dust from re-sticking to newly cleaned vinyl.
Control Temperature and Humidity
Heat, sunlight, and humidity are all enemies of vinyl records. Store your collection in a temperate, dry room away from windows to prevent heat and moisture damage.
Give Records Room to Breathe
While some crowding is unavoidable, avoid jamming shelves too tightly with records. Tightly squeezed records can subtly warp over time. Give them a little wiggle room.
Signs Your Record Needs Cleaning
How can you tell when it’s time to clean a vinyl record? Watch for these signs:
- Pops, clicks, or crackling sounds. Surface noise from debris in the grooves is a giveaway that dust and dirt have built up.
- Visible dust, fingerprints, or smudges. If you can see grime on the record’s surface, debris is likely buried in the grooves, too.
- New records that are right out of the packaging. Brand-new vinyl often has debris left over from the manufacturing process. Clean before playing.
- After several plays. Dust inevitably builds up after repeated plays. Clean periodically to prevent buildup.
- Skipping or repeating. Severe dust or scratches can cause the needle to skip. Try cleaning first before assuming the record is too damaged to play.
- Stylus picks up grit after playing. If you see debris on the stylus after playing a record, it means that grime was embedded in the grooves.
Don’t Ignore Surface Noise
When those pops, clicks, and crackles rear their ugly heads, don’t just turn up the volume to try and drown them out. The only way to cure surface noise is to pull out the debris causing it.
Brand New Records Need Cleaning, Too
Don’t assume that new sealed records are pristine enough to play as-is. Dust and grit often remain from the packaging and manufacturing process. Give them a quick cleaning before dropping the needle.
Keep Your Record Collection in Pristine Condition
Cleaning vinyl records doesn’t need to be a complicated or expensive process. With some basic supplies and the proper techniques, you can keep your record collection looking and sounding new for many years of enjoyment. The key steps to remember are using a quality carbon fiber brush before and after each play, periodically deep cleaning with a wet wash and rinse, avoiding exposure to dust, heat, and humidity, and storing records vertically in clean, anti-static sleeves.
By gently and thoroughly removing debris from vinyl grooves before it can cause permanent damage, you safeguard your investment and get the best musical experience from every record.
Wrapping Up
For vinyl enthusiasts, proper record care quickly becomes second nature. But for any music lover new to spinning records, this guide arms you with the essential advice to clean and maintain your vinyl correctly.
We hope you’ve found these record-cleaning tips helpful. What strategies have you found most effective for keeping your vinyl collection in mint condition? Share your expertise and favorite cleaning methods in the comments below!
FAQ
It’s best to avoid using pure rubbing alcohol. The high alcohol content can dry out vinyl records and cause damage over time. If using any alcohol, dilute it heavily with distilled water and rinse thoroughly.
As a good rule of thumb, clean records at a minimum before and after every use. For heavier use, periodically profound clean records weekly or monthly, depending on how much debris buildup you notice.
A mix of distilled water and record cleaning solution is ideal. The cleaner helps dissolve debris, while the distilled water prevents mineral deposits. Audio experts recommend formulas like Tergitol-based cleaner concentrate mixed with distilled water.
Never clean vinyl in a dishwasher! The high water pressure and temperatures can damage records and stick debris in grooves. Only clean vinyl using the low-pressure hand wash methods detailed earlier.
For vinyl afflicted with heavy mold damage, experts recommend cleaning them professionally using specialized techniques. Attempting DIY cleaning risks permanently embedding contaminants deeper into the grooves.